Now We are Ready to Launch an OpenStack Instance
First, What is an Instance?
Instances are virtual machines that run inside the OpenStack cloud. You can launch an instance from the following sources:
- Images uploaded to the Image service
- Image that you have copied to a persistent volume. The instance launches from the volume, which is provided by the cinder-volume API
- Instance snapshot that you took
Second. We need a key pair before we launch our first instance
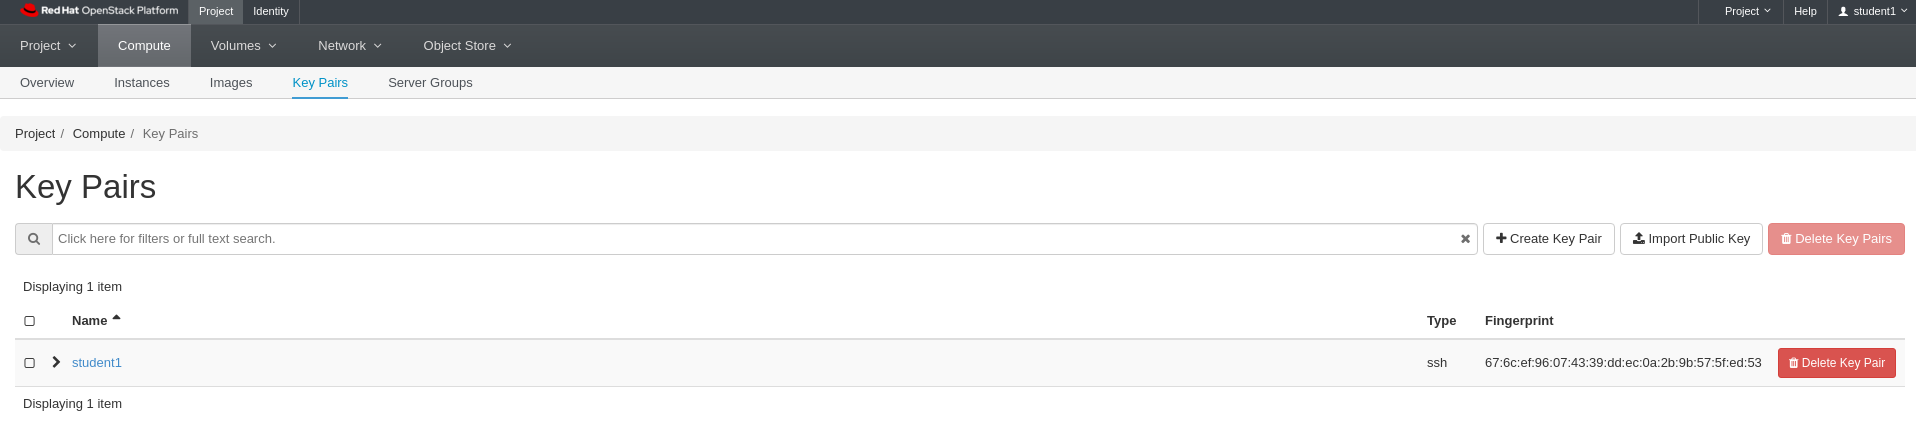
Navigate to Compute -> Key Pairs using the second level navigation tabs
We need a key pair created to use when we provision instances. The public key is passed to the instance and put in the authorized_keys file on the login user account.
Click Create Key Pair

Lab 6 Figure 1: Key Pair list
Enter student1 for Key Pair Name
Click Create Keypair

Lab 6 Figure 2: Create New Key Pair
Lab 6 Figure 3: Key Pair list showing new key pair
Note that when you create a key pair, it should get automatically downloaded. You should verify that you definitely have the pem file in your downloads.
You need this key file in order to access instances later.
Let’s Go Launch a New Instance
Navigate to Compute -> Instances using the second level navigation tabs

Lab 6 Figure 4: Project Instance Listing
Click Launch Instance on the right hand side of the screen
Enter student1-cirros for Name
Leave Availability set to nova
Enter 2 for Count
Click Next
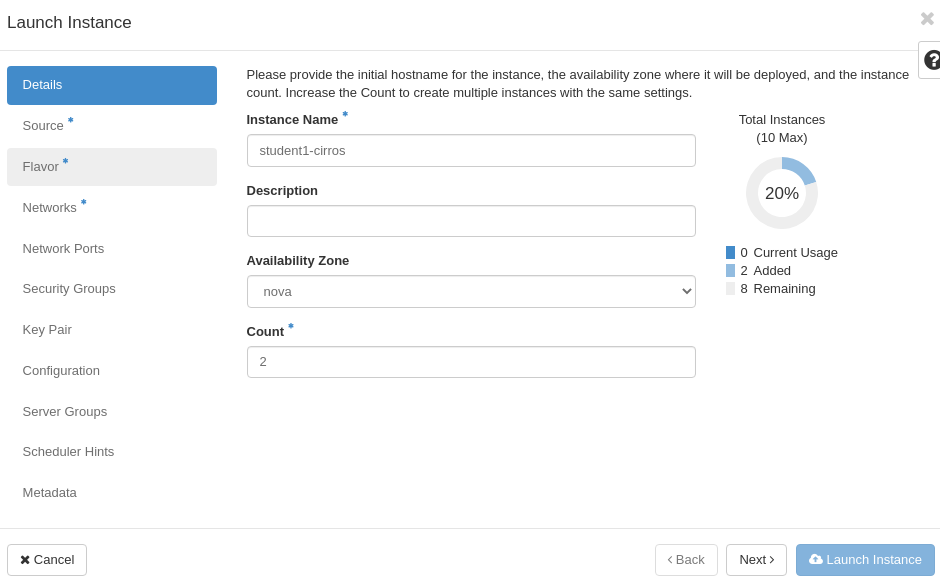
Lab 6 Figure 5: Details for New Instance
Leave Select Boot Source set to Image
Click No for Create New Volume
Click the Up Arrow symbol to the right of student1-cirros to move that image up to the Allocated section
Click Next
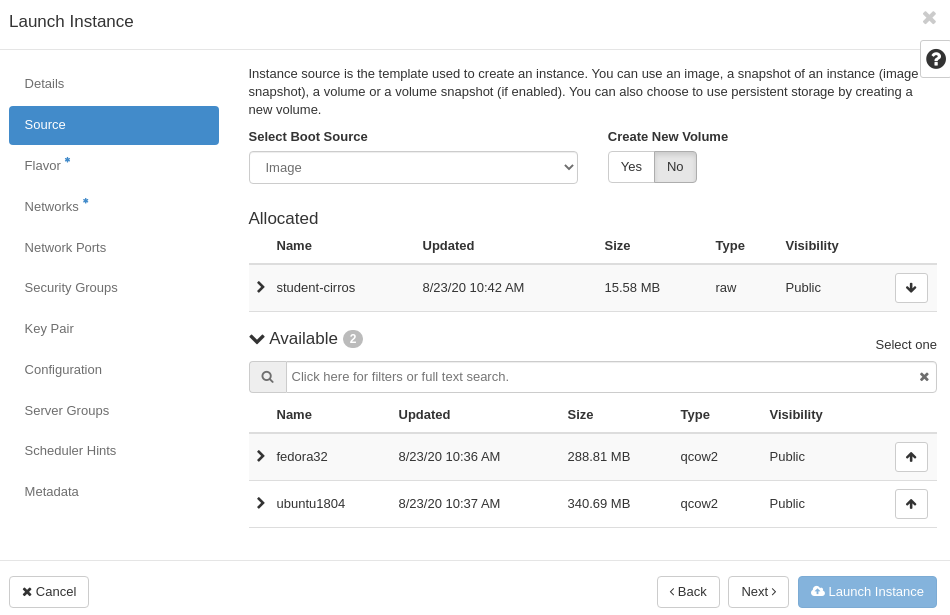
Lab 6 Figure 6: Source for New Instance
Click the Up Arrow symbol to the right of m1.tiny to move that flavor up to the Allocated section
Click Next
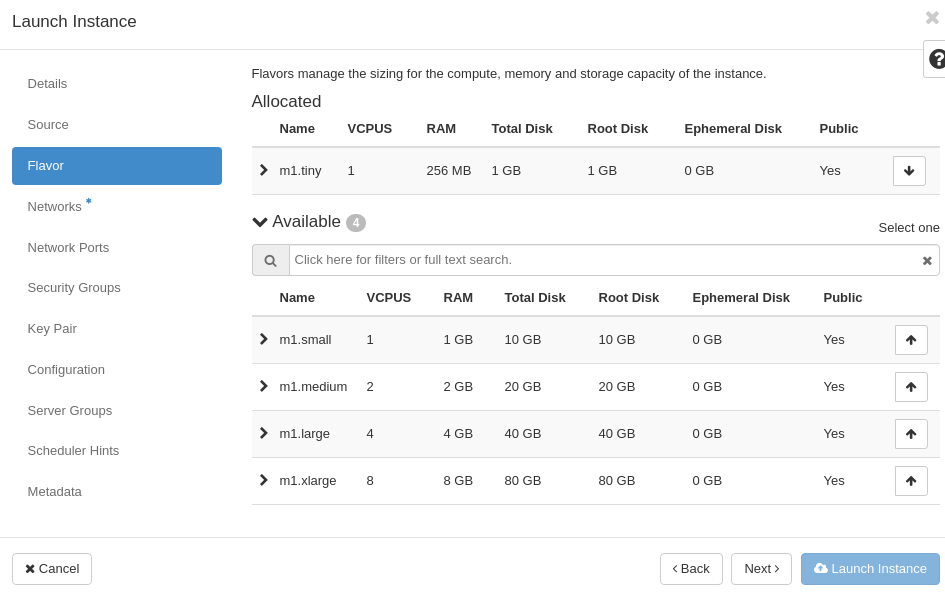
Lab 6 Figure 7: Flavor for New Instance
Click the Up Arrow symbol to the right of private-a to move that network up to the Allocated section
Click on Security Groups in the left list of options on with dialog
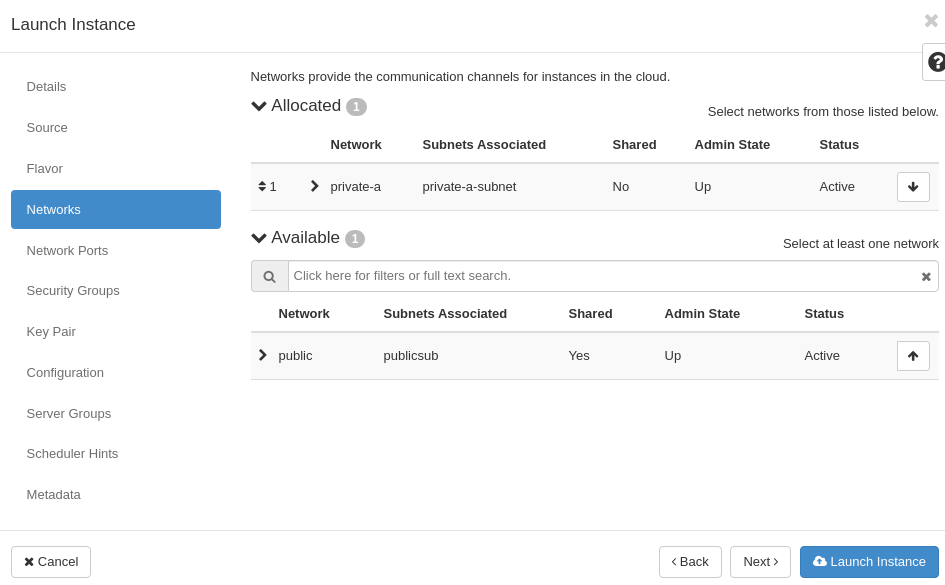
Lab 6 Figure 8: Networks for New Instance
Leave the default security group allocated
Click Next
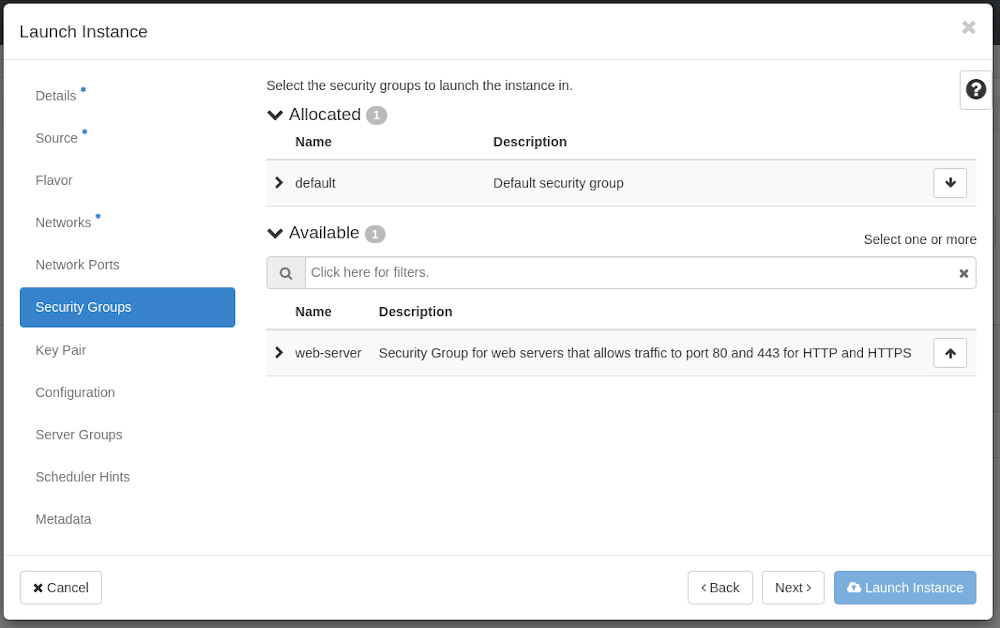
Lab 6 Figure 9: Security Groups for New Instance
You can ignore the rest of the option pages
Click Launch Instance
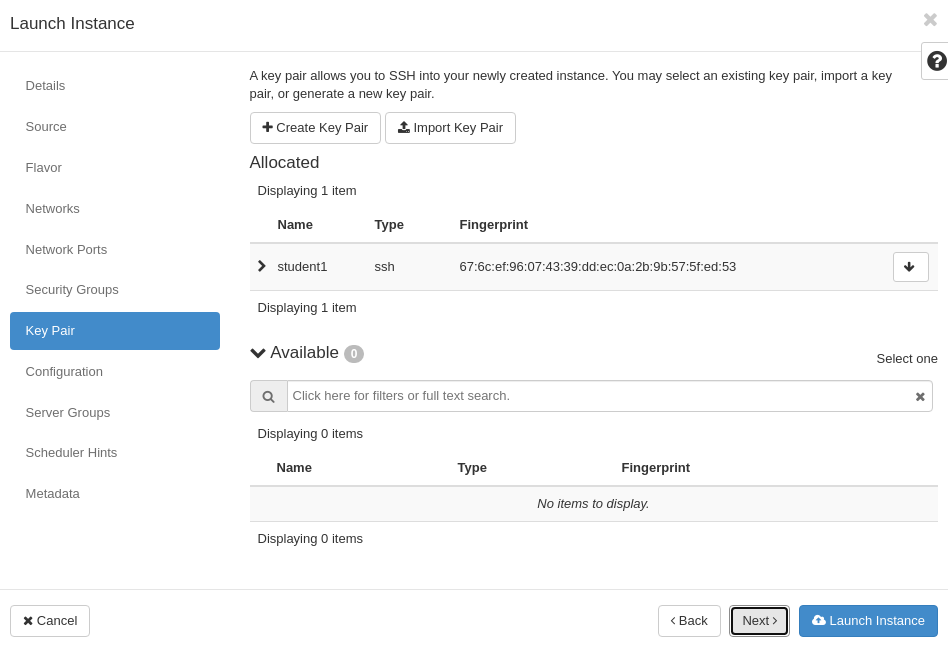
Lab 6 Figure 10: Key Pair Selected and Launching New Instance
You should see a green box appear in the upper right corner of the screen that says “Success: 2 instances launched.”
If you did not, let the intstructor know now
The instances will take a little while to become active.
If for some reason they do not, let the instructor know

Lab 6 Figure 11: New Instances Created and Active in Project
Now Let’s Associate a Floating IP Address with one of our instances
Look all the way to the right in the row for your student1-cirros-1 instance, Click the down arrow
Click Associate Floating IP
Select any one of your available floating IP addresses for IP Address
Leave Port to be Associated as is
Click Associate
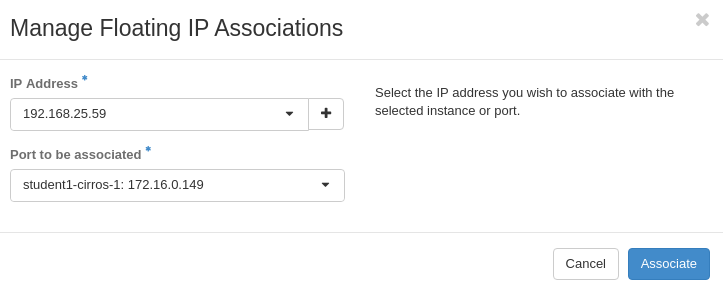
Lab 6 Figure 12: Selecting Floating IP to Associate with Our Instance
You should see a green box appear in the upper right corner of the screen that says something similar to “Success: IP address 192.168.1.106 associated.”
Note that your floating IP will be a different address than the one shown here.
If you did not, let the intstructor know now

Lab 6 Figure 13: Floating IP Address Associated with Our Instance
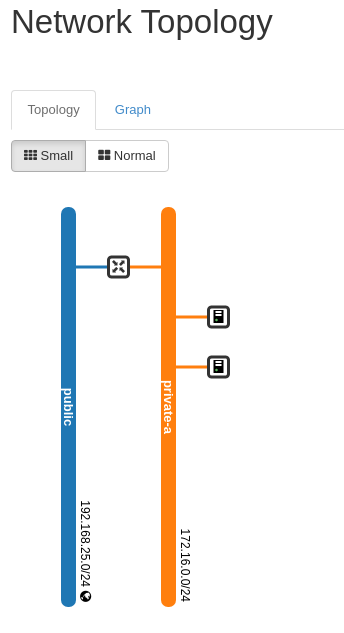
Lab 6 Figure 14: Network Topology Showing Two New Instances
Summary
At this point, we now have two running instances in our project. These instances are based on the cirros image we uploaded earlier.
The instances have IP addresses on the private-a network we created and are using the default security group as a baseline firewall setup.
One of our instances also has a Floating IP Address assigned and is routable on the 192.168.0.0/23 public network via both ICMP and SSH.
In our next lab, we will use the CLI to go through some of the steps we have done in previous labs.
Workshop Details
| Domain |
|
|
| Student ID | ||