Welcome to OpenShift!
This lab provides a quick tour of the OpenShift console to help you get familiar with the user interface. If you are already familiar with the basics of OpenShift, this will be easy in that we are simply ensuring you can login and create a project.
Accessing OpenShift
OpenShift provides a web console that allows you to perform various tasks via a web browser.
Let’s Login to the Web Console
Use your browser to navigate to the URI provided by your instructor and login with the user/password provided.
https://console-openshift-console.apps.example.redhatgov.io
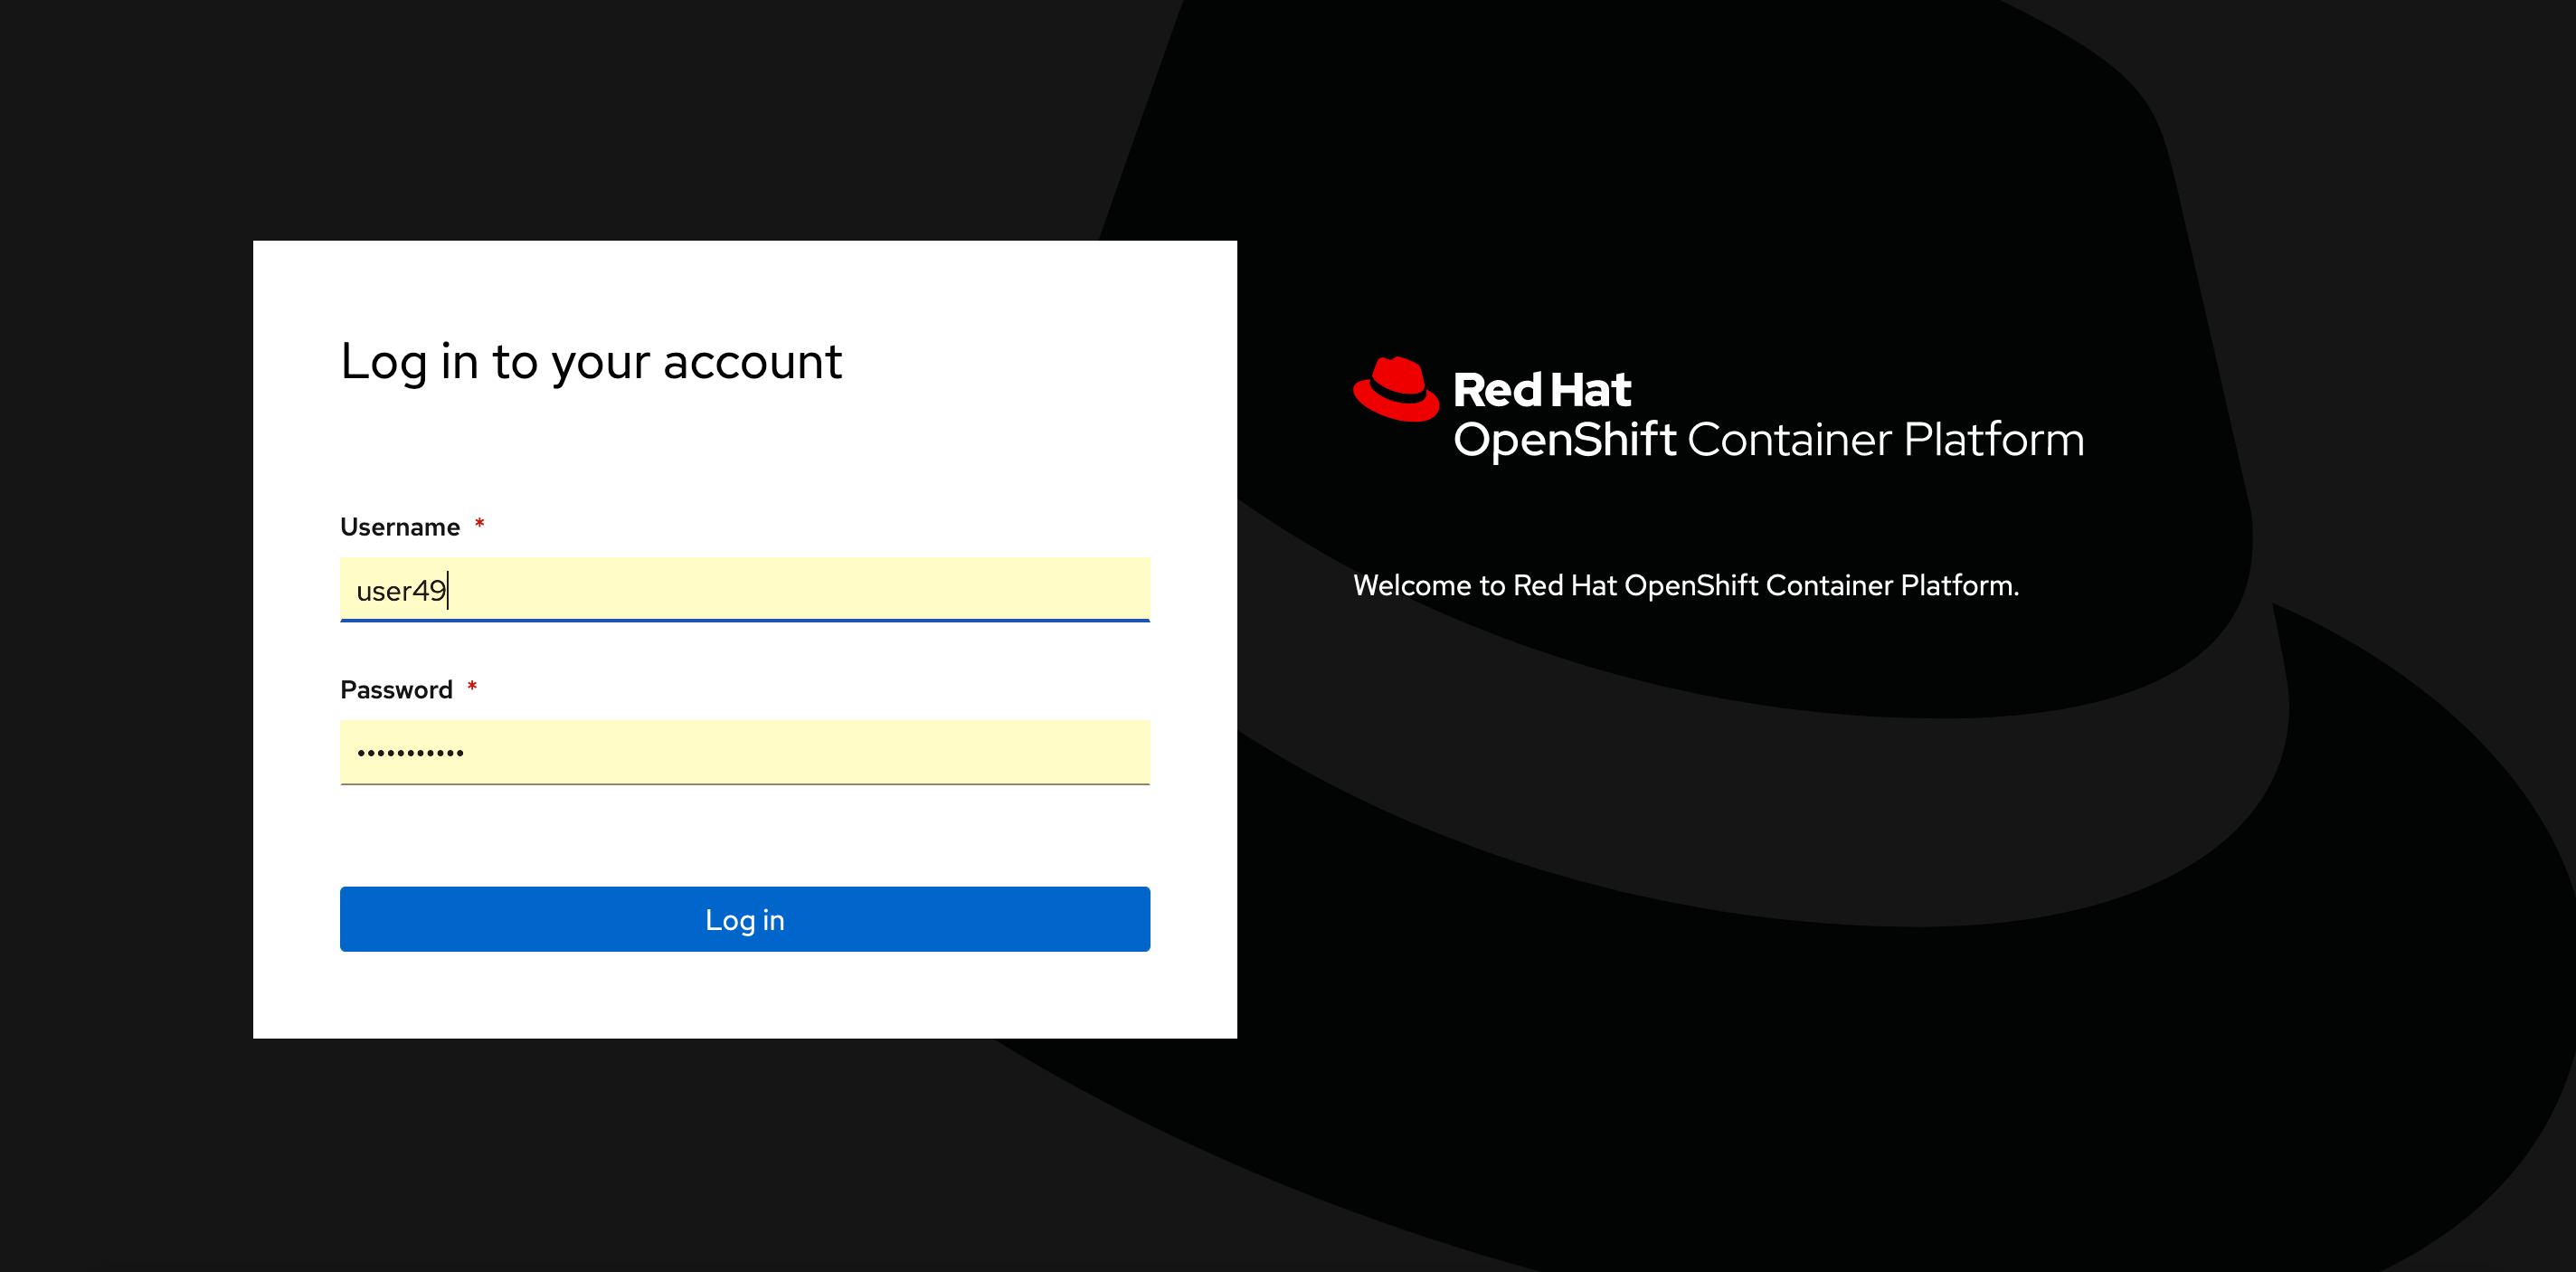
Login Webpage
Once logged in you should see your available projects - or you will be provided with an informational box that “No projects exist”
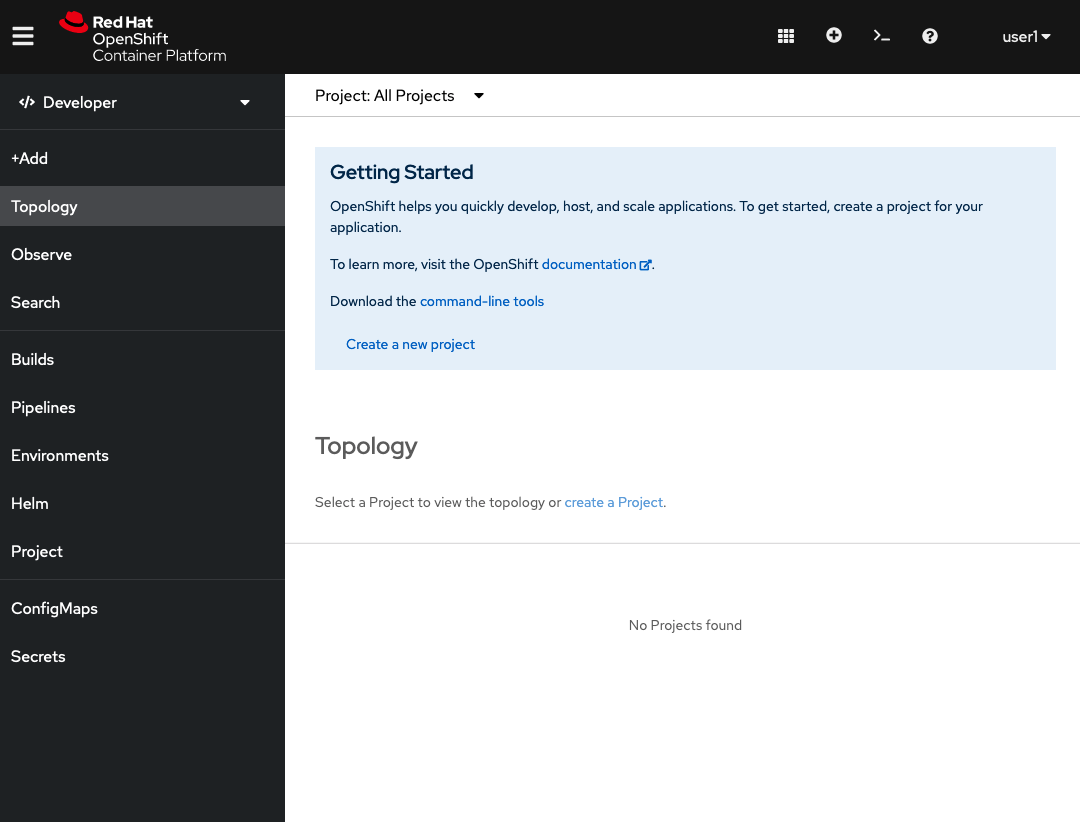
Developer Default View
So this is what an empty project looks like
First let’s create a new project to do our workshop work in. We will use the student number you were given to ensure you don’t clash with classmates:
Click on the “Project: all projects” button and select “Create Project” from the drop down menu
Populate “Name” with “terminal-YOUR# ” and populate “Description” boxes with whatever you like. And click “Create”
This is going to take you to the next logical step of adding something to the project, but we don’t want to do that just yet.
Let’s launch a terminal.
Click “+Add”, to add a new item to the project
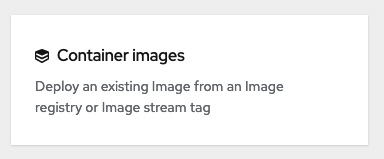
Click “Container Image”, to add an existing image from the container registry
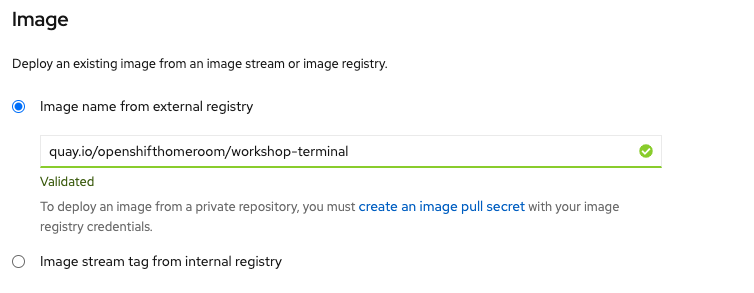
In the dialog box under the default radio button, “Image name from external registry”, enter “quay.io/openshifthomeroom/workshop-terminal”, the image should be “Validated” when found.
Observe default values that are populated in the search results
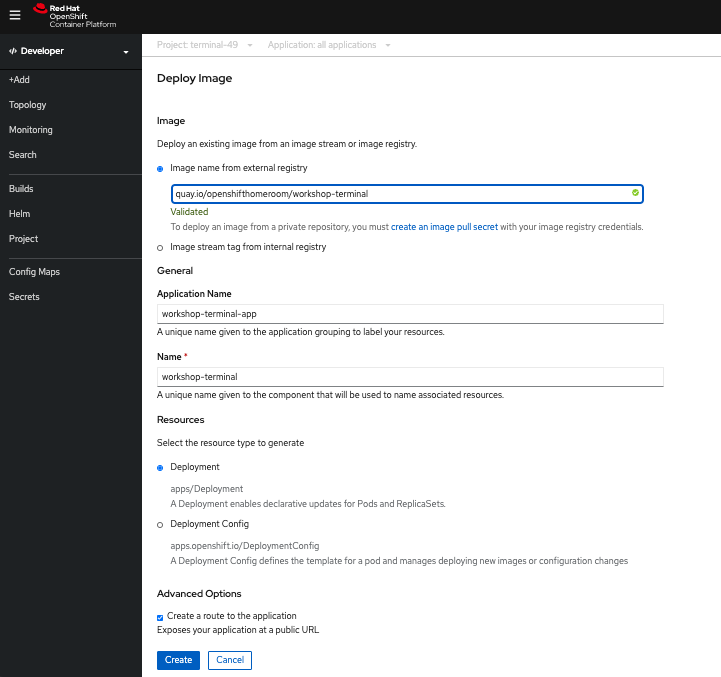
Click “Create”
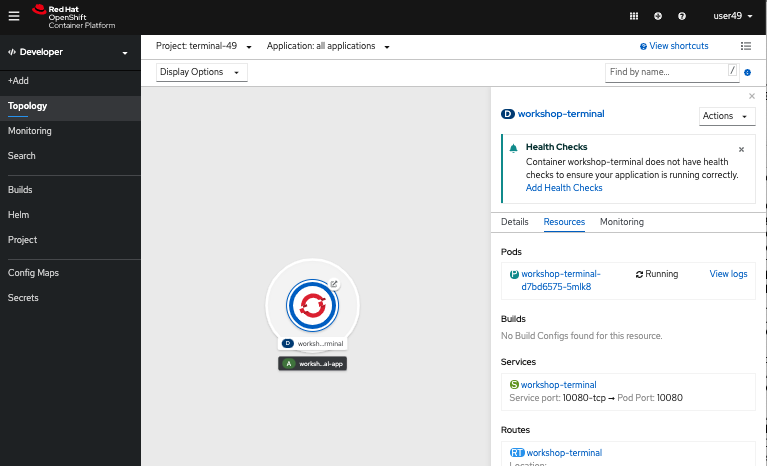
You will now see a screen that shows a thumbnail view of your deployed application. Click on it, to expand the screen, and see details of the running pod:
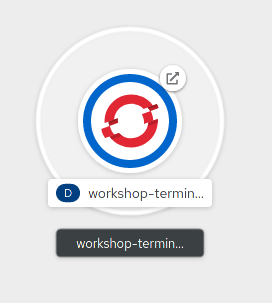
“Topology”
Test out the Butterfly terminal
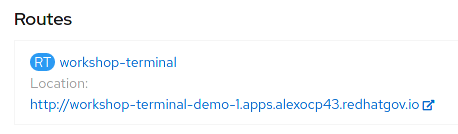
Notice that in the web console overview, you now have a URL in the service box. You can see the webapp running by clicking the route you just exposed.
Check to see what projects you have access to:
Use your existing Butterfly terminal, and login, using the same URI with following command:
$ oc login https://api.example.redhatgov.io:6443 --insecure-skip-tls-verify=true
The preceding command should output:
Authentication required for https://api.example.redhatgov.io:6443 (openshift)
 Username: userYOUR#
 Password:
Login successful.
$ oc get projects
oc get projects
NAME          DISPLAY NAME   STATUS
terminal-YOUR#                  Active
Type the following command to show services, deployment configs, build configurations, and active deployments (this will come in handy later):
$ oc status
Summary
You should now be ready to get hands-on with our workshop labs.
Workshop Details
| Domain |
|
|
| Workshop | ||
| Student ID |
Workshop Details
| Domain |
|
|
| Workshop | ||
| Student ID |